Connection a Psion Series 3a to my Mac
I follow James Weiner on Mastodon (@hypertalking@bitbang.social) because of his beautiful one-pixel art and his work on restoring old computers. Last week he boosted a post which mentioned Psion PDA’s which lead me down a rabbit hole which ended at Psion User Group which is maintained by Alex Brown (@thelastpsion@bitbang.social). I remembered still having a Psion Series 3a myself somewhere stowed away in a closet together with a Palm V and a Tungsten T3.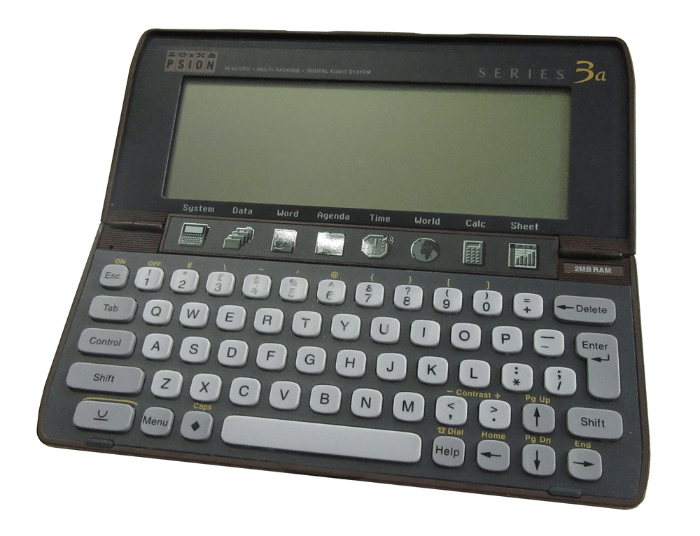
The journey got me thinking if would be possible to use the Psion, which still looks like a great device, in a current setup and have it sync data with my Mac Studio. This send me down another journey searching for accurate documentation but I found that lacking. It was mostly for Windows based computers (32 bit and not working on most 64 bit machines) and for Apple which was a bit more obscure at that time even less. If there was anything for MacOSX it was for Intel based machines and definitely not for Apple Silicon.
Toady I got the connectivity working with the excellent help of Alex Brown and Chris Farrow on the Psion User Discord server. I thought I’d write down the steps how I got it working as a reference for others who might want to follow me down this rabbit hole as well.
First problem is the physical connection, it based on sub D9 connector or more commonly known as a serial port. Your Psion series 3a came with a special cable called the 3 Link which was a serial connection interface.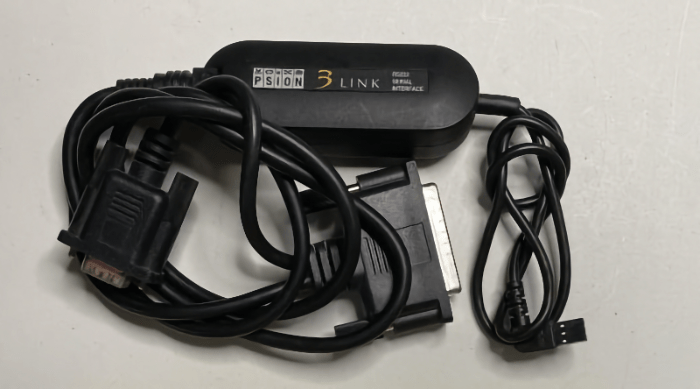 The problem being that current computer hardware does not have any serial or even parallel connectors that where once ubiquitous. To resolve this I had to buy an USB to Serial interface which was obtained via Amazon. You can use others but they must have the PL2303 chip takes care of the proper communication.
Next you’ll have to install the driver which was to my surprise available in the App Store PL2303 Serial. The next step is optional but I found it very useful to test if there is any connectivity between the Mac and the Psion and the cable is doing it’s thing. You’ll use a Terminal emulator to connect both devices. I’ve used SerialTools on my Mac because it’s free and available in the App Store. On the Psion you’ll need to install the Comm tool, if it not installed then you can use Psion-I, select the C: drive, and install Comms.app. (before you do, make sure you disabled the 3-Link).
Open the Comms tool on your Psion and on the Mac you open Serialtools, select the PL2303 port, set baud rate to 9600 and press connect. What you type on the Mac should appear on the Psion screen and vice versa. This proves a proper connection between your Psion Series 3a and your Mac.
There are several options for the next fase, installing plptools, running a windows VM to use the PsiWin program or use DosBox staging to run Mclink
I have chosen to start with the DosBox option as it was the simplest option to get started. I dabbled with the plptools option but I haven’t got it working yet. So here are my instructions on using the DosBox option.
First you need to download the Mclink program from here, unzip it in a separate directory which you will reference later.
Download the latest version of DosBox staging from their download page and install the program. When installed, first start the application and on the new Z:\> prompt type the command: config -wc to create a new config file in ~/Library/Preferences/DOSBox called dosbox-staging.conf.You’ll need to edit this to make a link to your new serial connection. Mine was located at /dev/tty.PL2303G-USBtoUART8340 check using the Terminal if your is called the same. Find the line that starts with serial1 and make it look like: serial1 = direct realport:tty.PL2303G-USBtoUART8340.
At the end of the file you can add commands that can be executed during startup. The command I added is the mounting of the directory where I extracted my copy of Mclink. mount c /directory/location/of/mclink
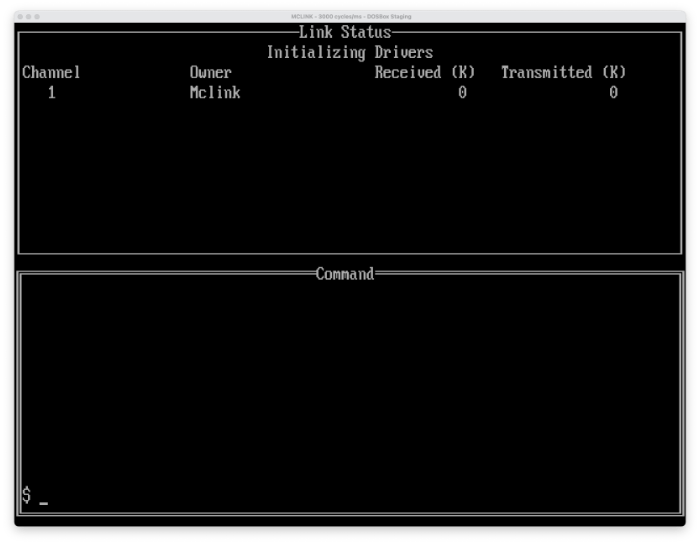
To use the new configuration file you’ll need to restart the DosBox program. After it’s restarted you can issue the command c:\mclink when the mclink program has started you should see a screen like:
 Next connect your Psion Series 3a using your new USB to serial cable with the 3link cable. Start the 3-Link program by pressing Psion-L (Key combination, bottom left key and the L together) and turn it on at 19200 baud.
If everything is correct you’ll see mclink connecting and three lines should appear at the top of the window like:
Next connect your Psion Series 3a using your new USB to serial cable with the 3link cable. Start the 3-Link program by pressing Psion-L (Key combination, bottom left key and the L together) and turn it on at 19200 baud.
If everything is correct you’ll see mclink connecting and three lines should appear at the top of the window like:
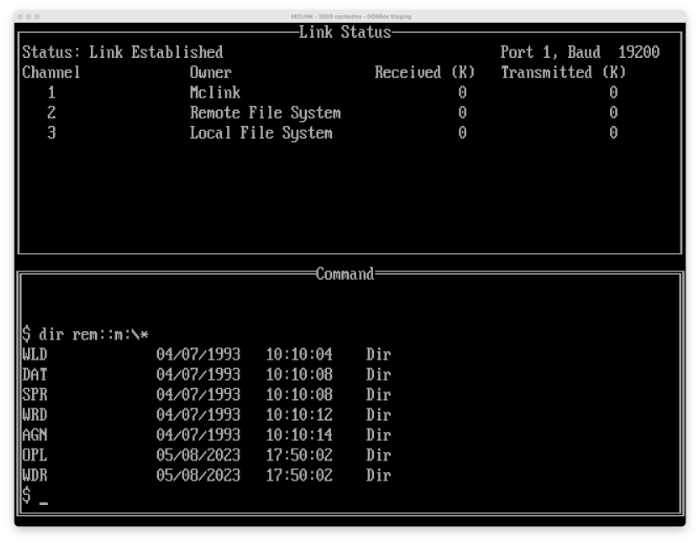 As you can see I’ve asked for the directory contents of the ramdisk of the Psion using the command:
 dir rem::m:\* for more commands on how to exchange information please locate the MCLINK.DOC file which explains all of them. Have fun!